After enjoying my introduction into a static site generator last time out with WYAM, it's successor Statiq was my latest trial, and I was certainly not underwhelmed.
I knew when starting out with WYAM that Statiq had been released, but it wasn't quite mature enough for what I needed. I deployed 4 WYAM sites, and enjoyed getting back to basics. Now Statiq is more mature the experience is even better. It's still a static site generator based on .net Core, but whereas WYAM is no longer being developed, Dave Glick is definitely working on this, and I urge you to check it out.
Your imagination, your generator.
Statiq is the world's most powerful static generation platform, allowing you to use or create a static generator that's exactly what you need.
To setup Statiq is even easier then before.
Open up Visual Studio 2019:
Start a new console project
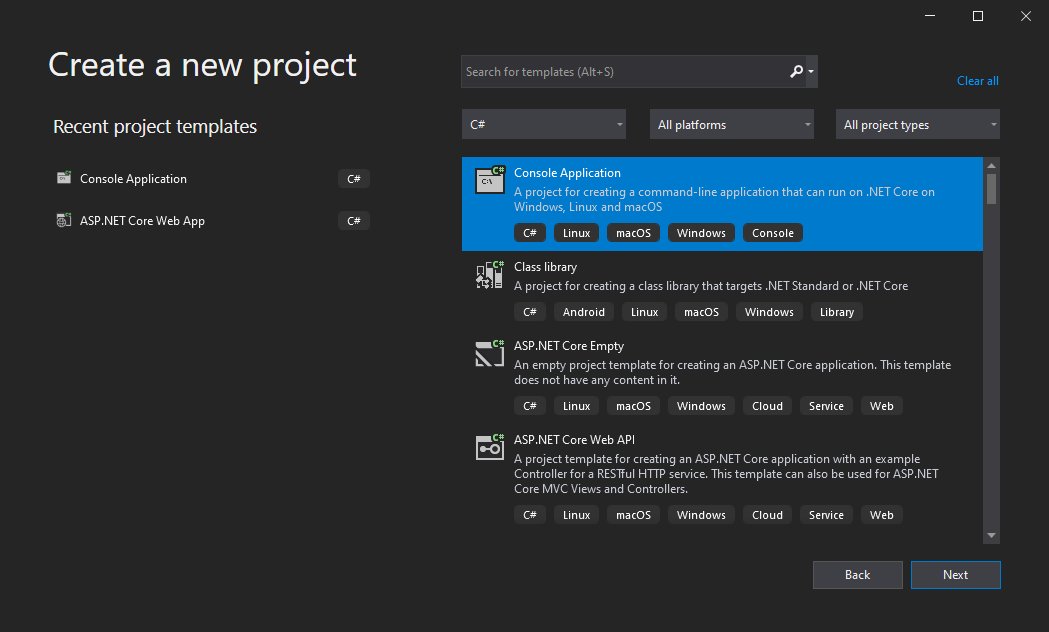
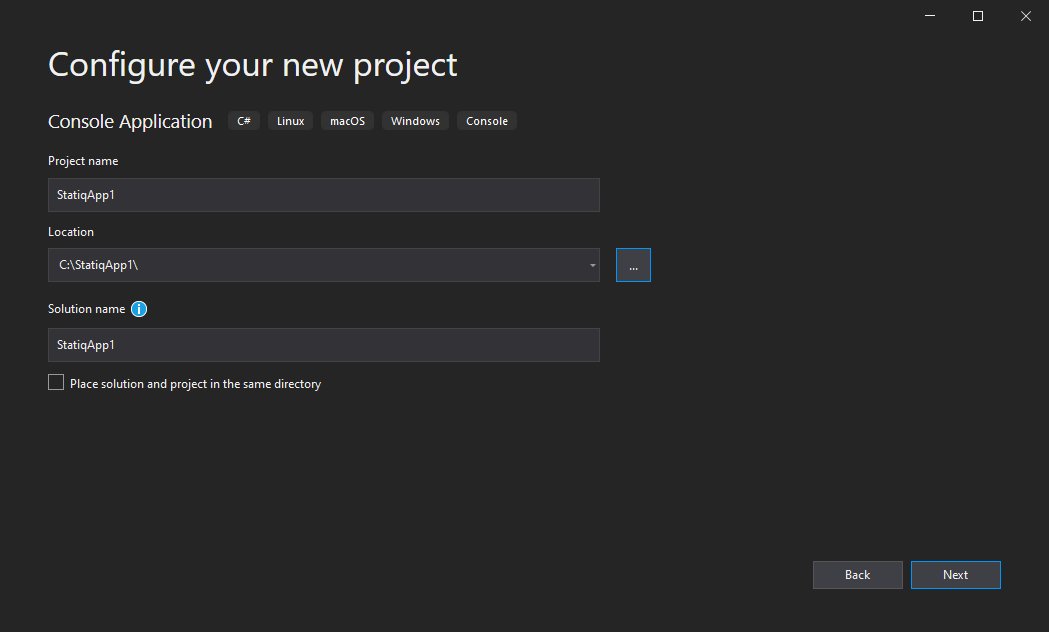
Give it a name and a location:
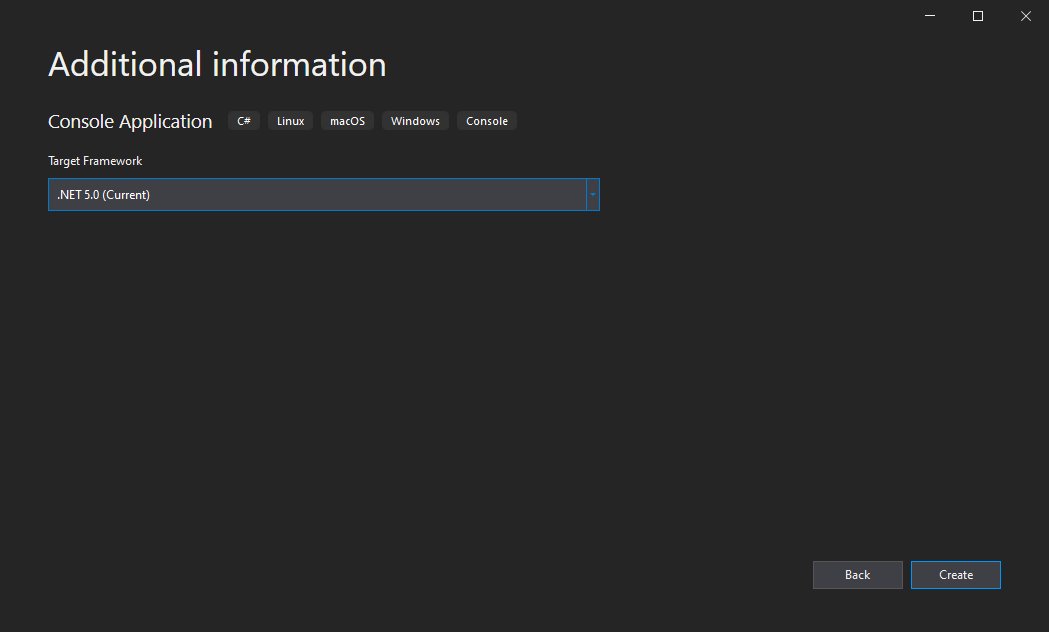
Pick your .net Core flavour and create:
Once your project is created, you will then have the basic console application:

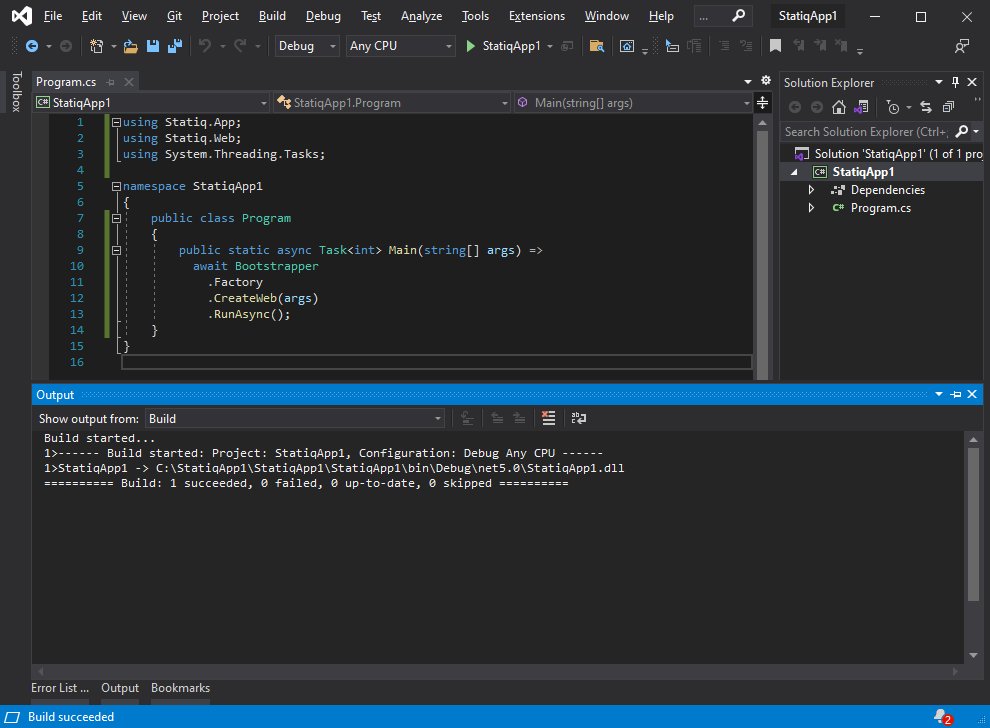
Replace the main program with the following:
public class Program
  {
    public static async Task<int> Main(string[] args) =>
      await Bootstrapper
        .Factory
        .CreateWeb(args)
        .RunAsync();
  }
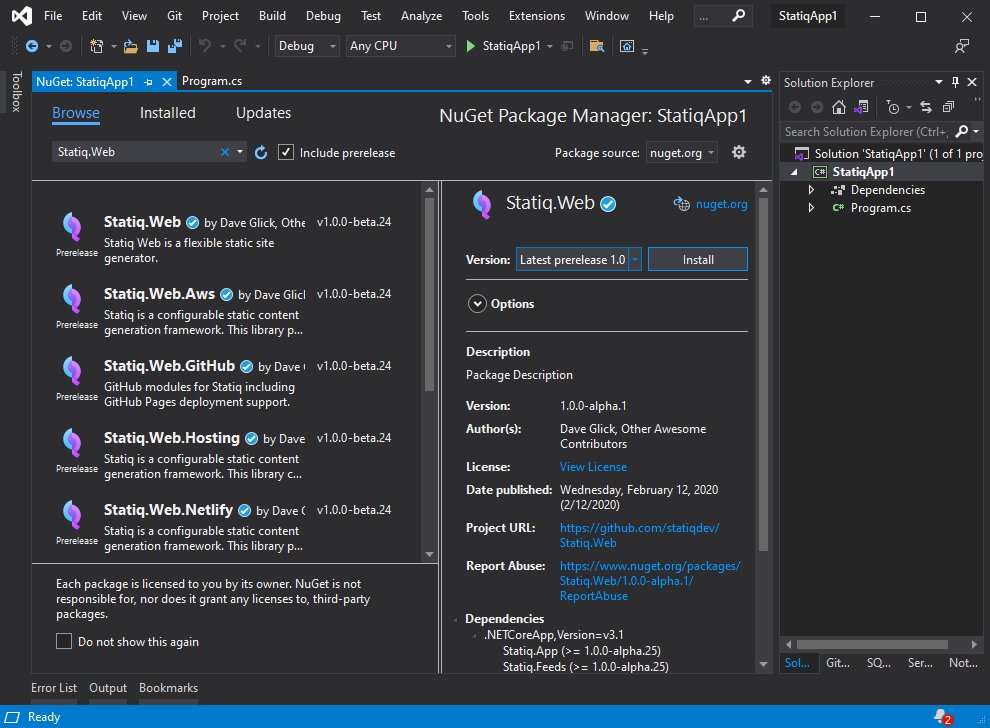
Depending how you prefer to packages, you then need to add in the following:
Statiq.Web
At the current time it is:
1.0.0-beta.24
Once loaded, you will need to ensure the following using statements are provided:
using Statiq.App;
using Statiq.Web;
using System.Threading.Tasks;
The project should then build:
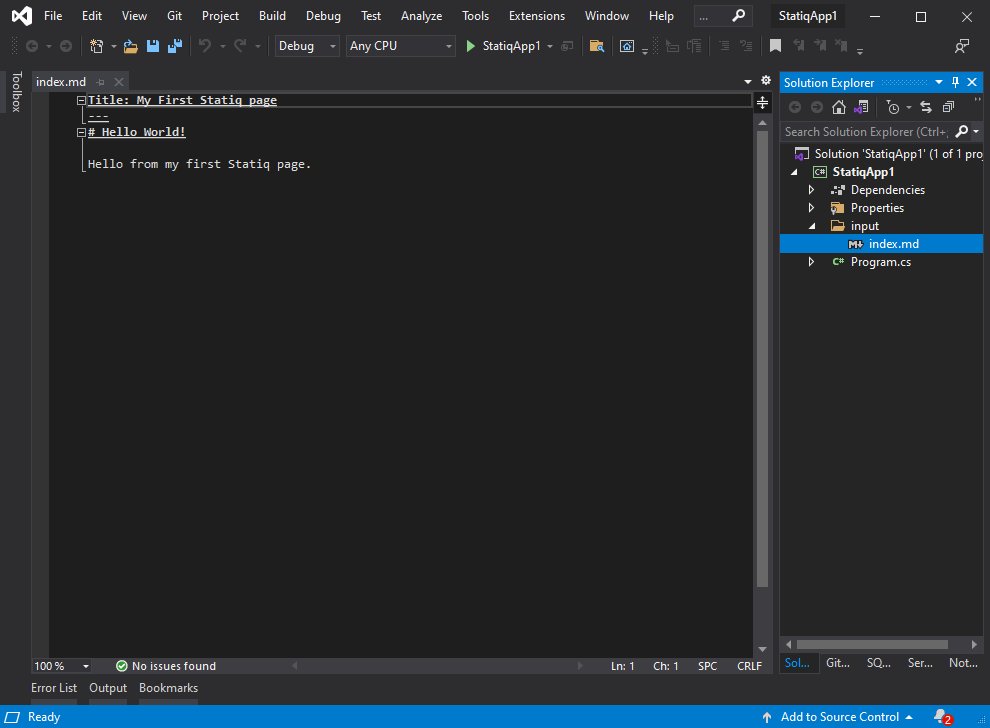
We can then add our first content file, index.md which needs to go inside an Input folder off the root:
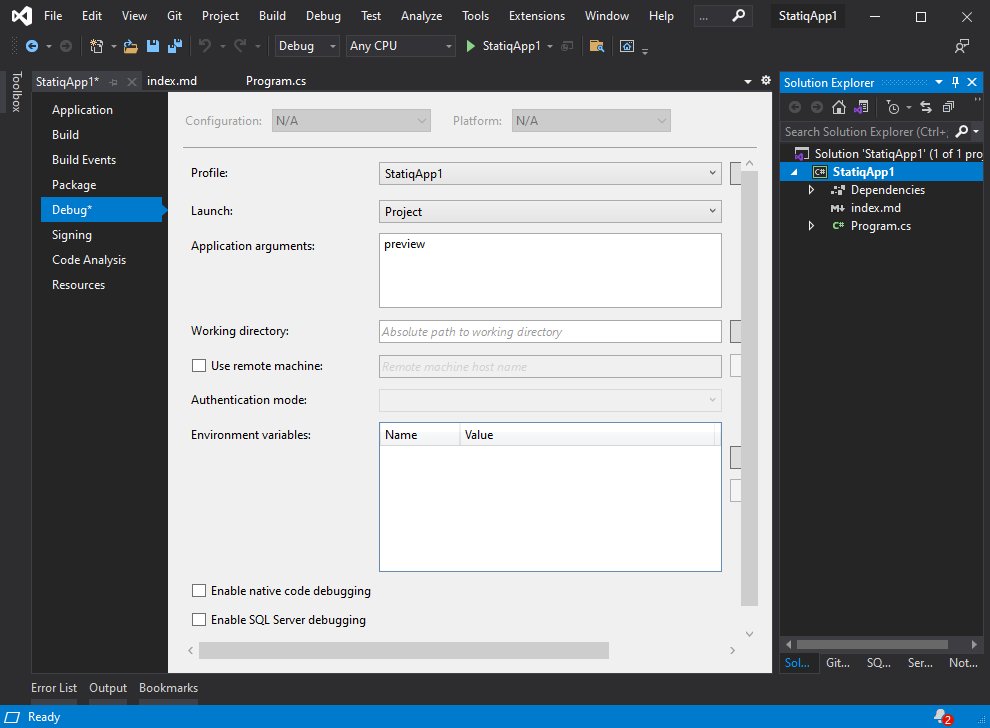
We can then demo what we have done. To do this we will add one property to the project file. Right click on the project, go to properties, go to debug, and add 'preview' as an application argument. This starts Statiq in preview mode when running the project.
We can then hit F5 and run the project
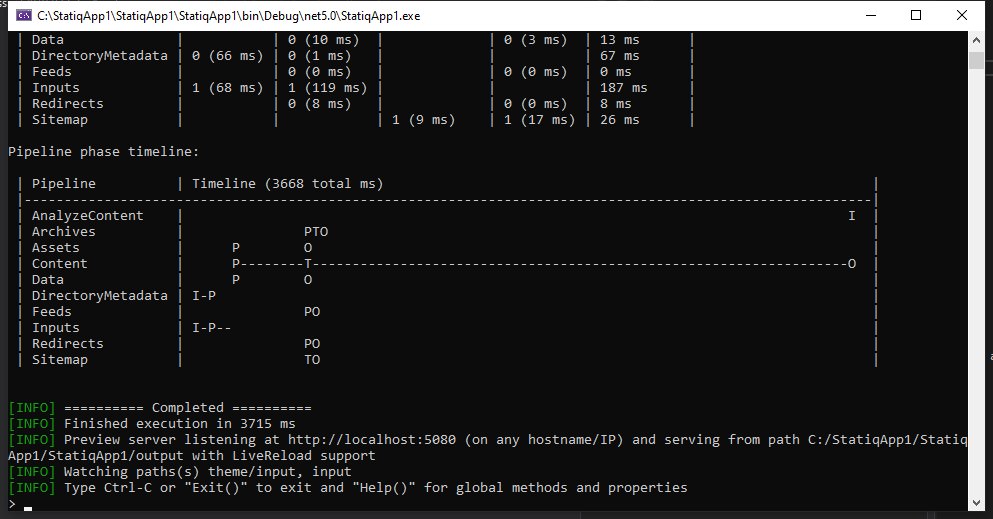
We then need to open a browser using the default address which is:
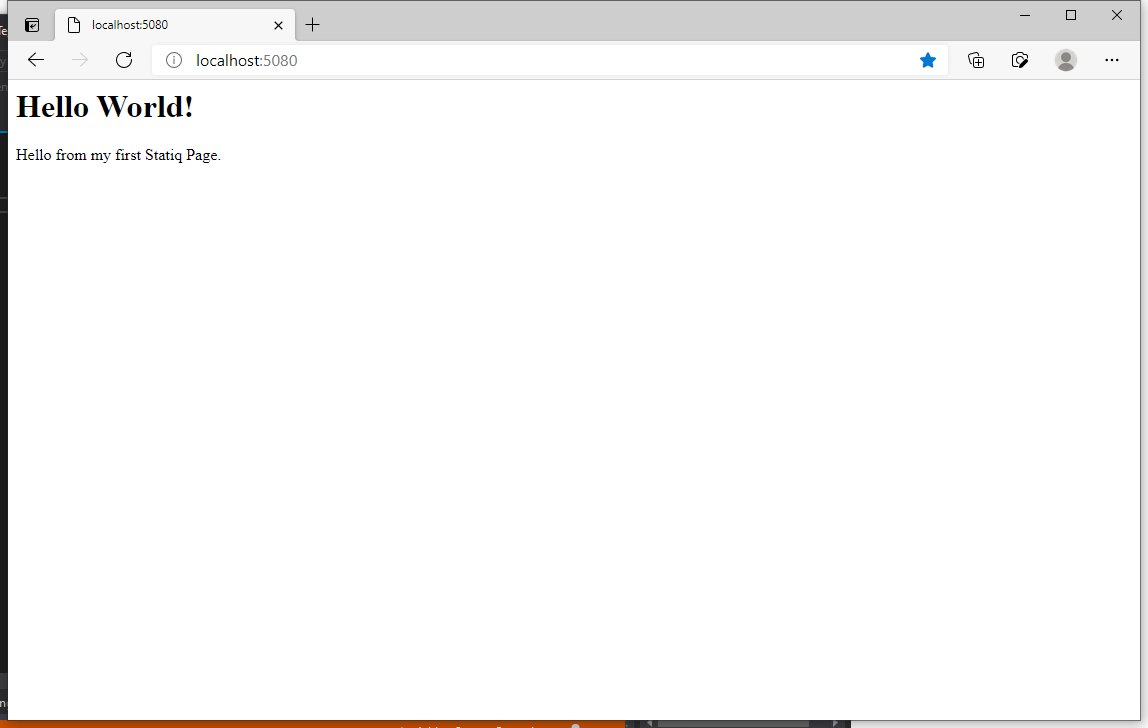
http://localhost:5080
Which should show us the following:
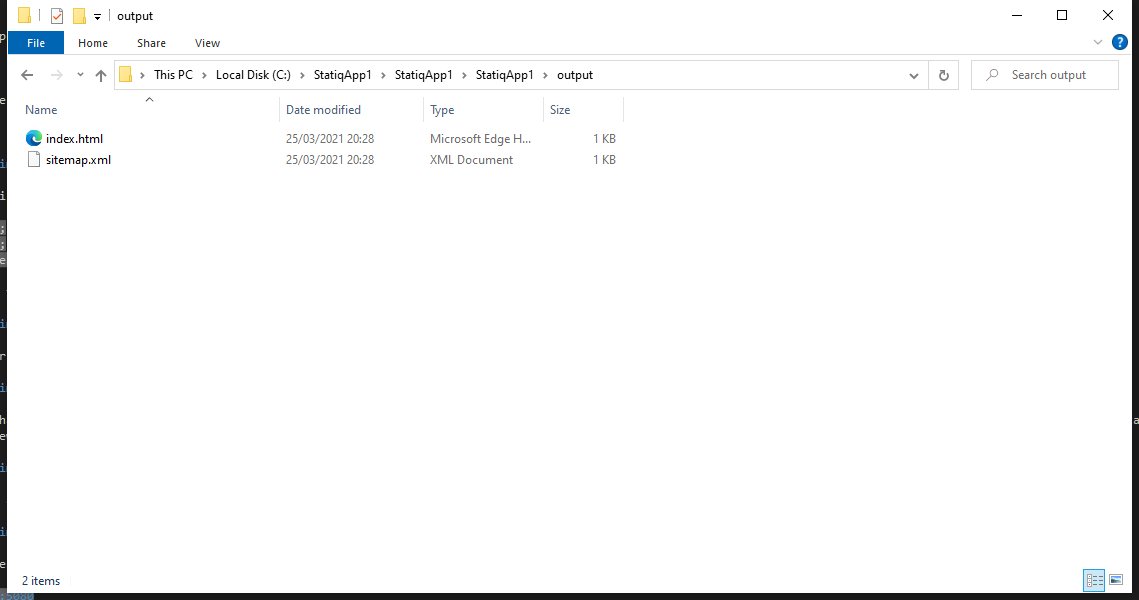
If we go into our Solution inside File Explorer, we should now see an output directory with two files inside - out index.md transformed into HTML and a Sitemap file.
That's it - up and running in 5 minutes all inside Visual Studio.
Obviously, there is a lot more to it but I will leave those links below for you to explore.